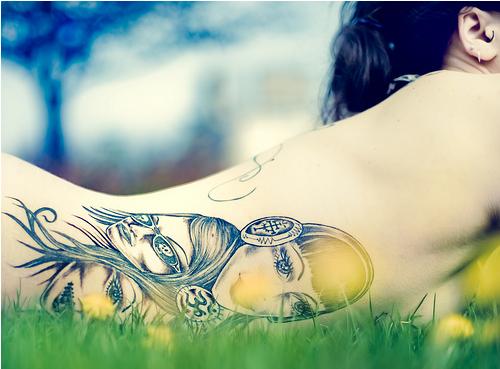
Using Adobe Photoshop you can draw , with few steps, realistic tattoo designs on your body. For this you will use the Brush Tool. All you need is download tattoo photoshop brushes and your photo.
For this tutorial we will use this photo:

1.Step
Download collection of tattoo brushes. You can download them here. You will get excellent collention of photoshop brushes for tattoo:
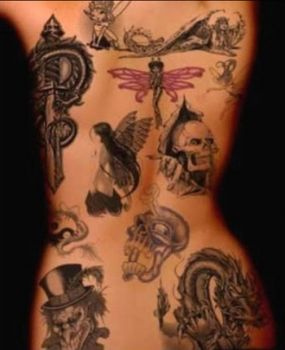
Extract this brush collection to brushes folder: Presents – > Brushes
2.Step.
Now open your photo with photoshop:

3.Step
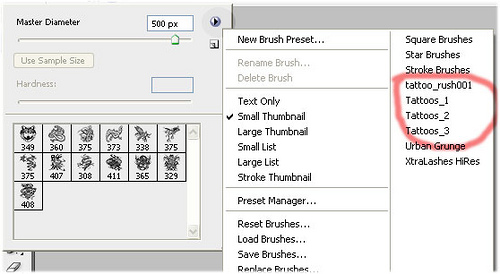
Go to brush tool:![]()
(B). On brush tool menu take on of tattoo brushies that you are download:
4.Step
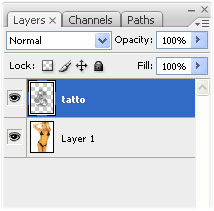
Now create new layer: Shift + Cntrl + N, call it Tattoo and draw your tattoo. Now we got 2 layer:
5.Step.
Now press Cntrl+T (Free transform) and put your tattoo to than body place where you whant it will be. And make size of tattoo what you whant, to look like it is original:
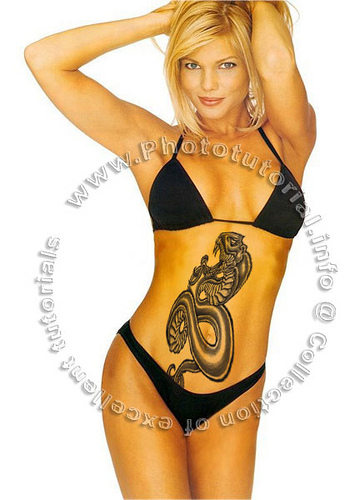
It is almost originaly, but not complete.
6.Step.
Now we go to: Edit ->Transform->Warp and modify your tattoo to be realistic:
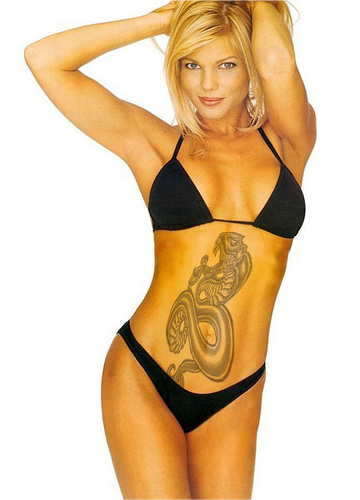
Here you need your imagination to transform tattoo what ever you like.
7.Step.
Now it is final step. Go to
tattoo layer blending mode and change it to multiply and change opacity to 50% or what ever you like, to looks like real tattoo:
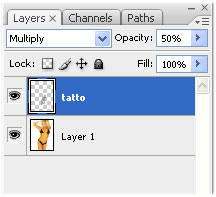
Final result.
And here is the final result of making a realistic tattoo designs on your body, using Photoshop:
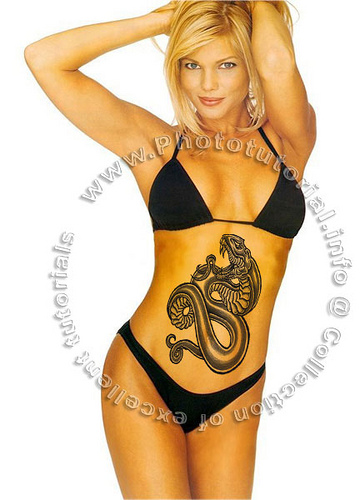
Source: www. Photoshoptutorial.info
