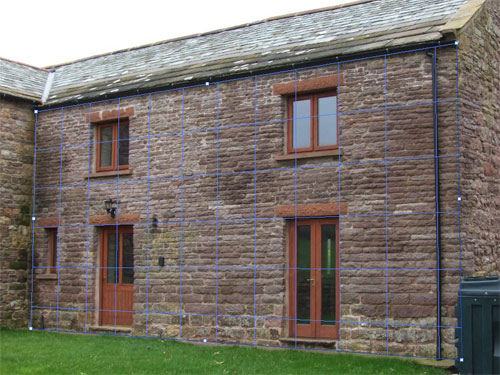
The Vanishing Point is a tool in Photoshop that automatically adjusts for the perspective planes in an image as you work. In the example image beside, it would be very difficult to take the windows out of the picture because the angled perspective doesn’t work so well with the clone tool. But the Vanishing Point tool makes it quick work.
In this tutorial we’re going to use the vanishing point filter. We’ll also use this filter to get rid of the two windows on the second story of our picture.
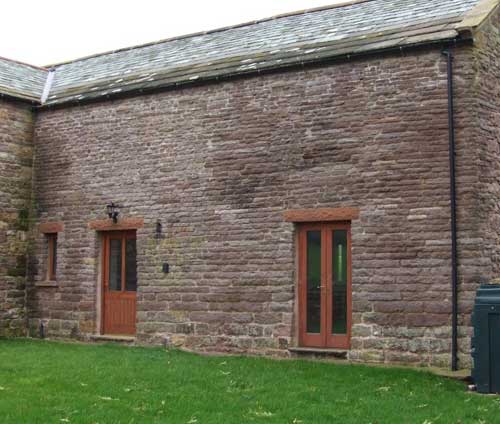
If you want to follow this tutorial copy the next picture of the old house: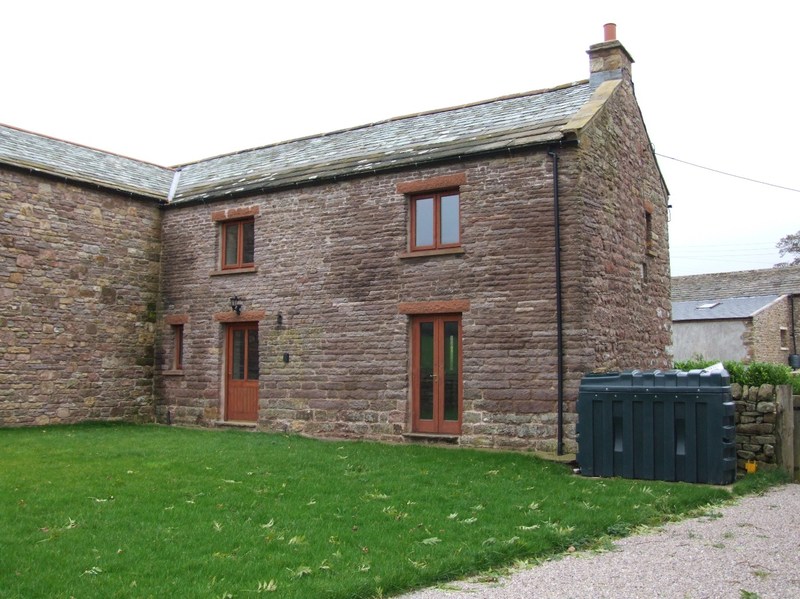
1. Vanishing point filter on the stone house.
Open the stone house pic in Photoshop as a layer, name the layer old house. Type ctrl +Alt +V to bring up the Vanishing point filter editor. When the editor first opens the “create plane tool” is active, use the tool to trace around the 4 corners of the front wall. If you need to, you can zoom in close to get the best fit you can.

Lets get rid of the top two windows so we can fit our banner there. While still in the vanishing point editor, type M to bring up the rectangular marquee tool and draw a square to the left of the top right window slightly wider and longer than the window itself.
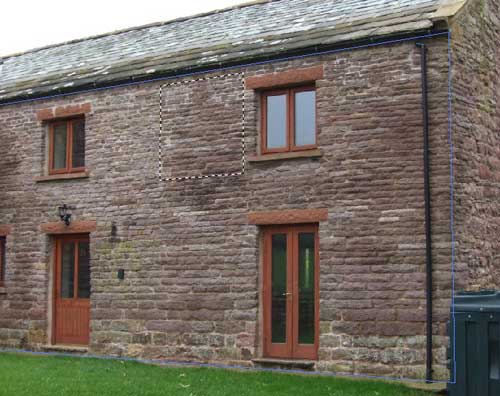
Notice how the marquee tool draws the rectangle in the proper perspective. In the upper tool bar, set Heal to on then Hold down alt + shift at the same time and click +drag a copy of the selection over the top of the right window and release. hit ctrl + D to deselect. This makes some pretty good patch work of the wall.
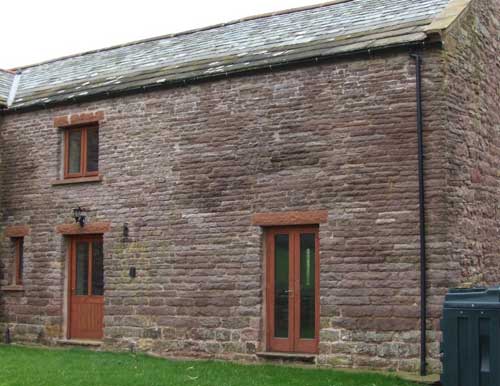
Use the same technique to patch over the top left window.
So we saw here it is very easy to use the vanishing point filter to get rid of elements in perspective views.
